This guide is intended for Qubes OS users who struggle with configuring GPU passthrough, particularly for enhancing video game performance.
You need to have the following hardware:
- GPU capable of doing pass-through.
- USB controller capable of doing pass-through.
- Display that can be dedicated to the GPU, while the qube is active.
Although laptop GPUs can sometimes be used with pass-through, this guide focuses on desktops due to their simplified hardware setup.
If you don’t have a free USB controller, you can purchase a cheap USB PCIe expansion card.
Most displays offer multiple input ports (HDMI, DisplayPort, etc.). Connect a free port to the GPU and simply switch your display input when using the qube for GPU acceleration.
Setting up the qube
Before you can pass the GPU it needs to be hidden from dom0, How to hide the GPU
For a streamlined installation process, this guide uses an NVIDIA GPU and Ubuntu Linux. You can use a different version of Linux, or a different GPU, and most of the installation steps will still be the same.
Download the latest Ubuntu ISO.
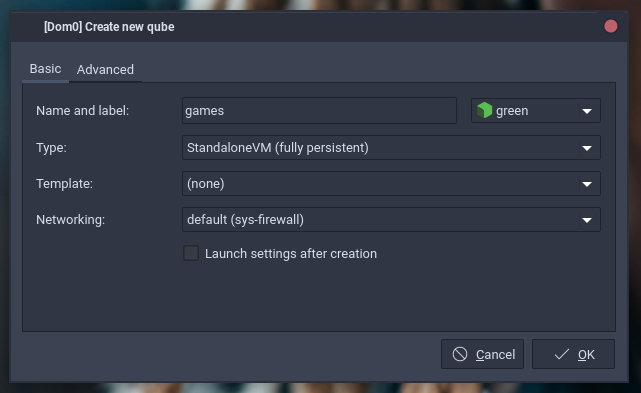
Step 1: Create a new qube of the type Standalone, do not select a template, proceed to Advanced tab.
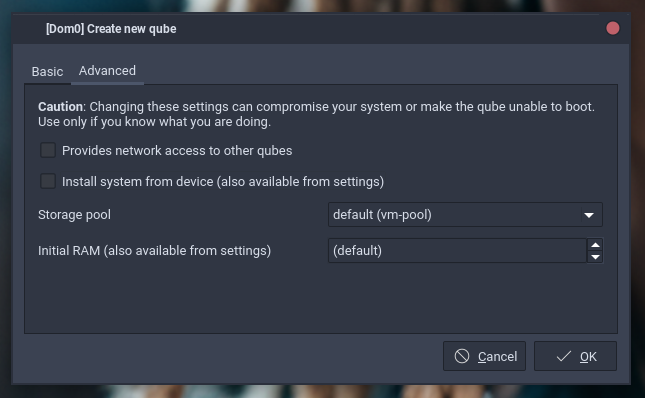
Step 2: In the Advanced tab, deselect the option “Install system from device”, click Ok.
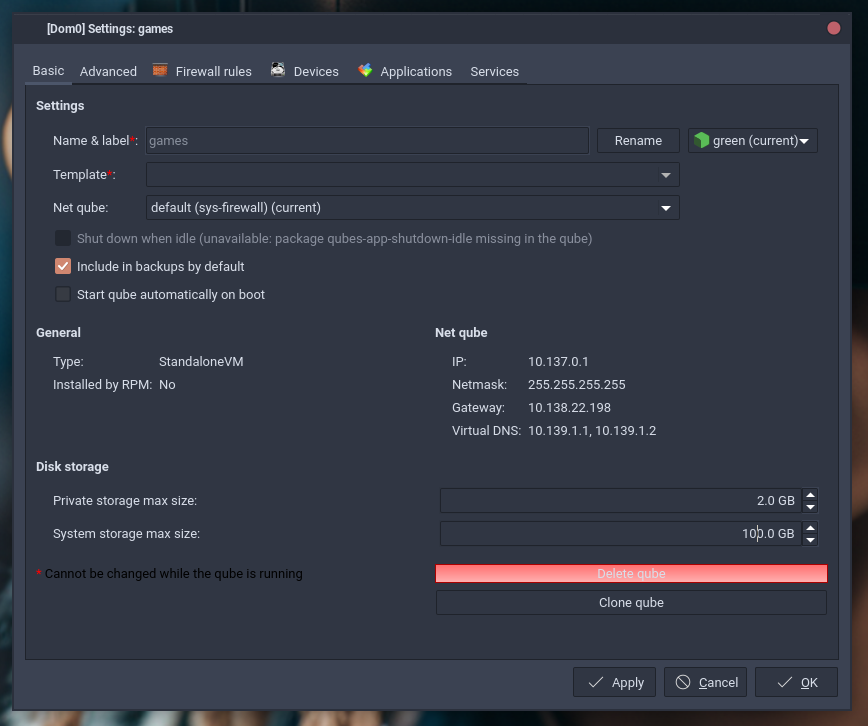
Step 3: After the qube is created, open the settings menu. Increase the System storage max size, the base system will be around 10 GB without any games installed, proceed to Advanced tab.
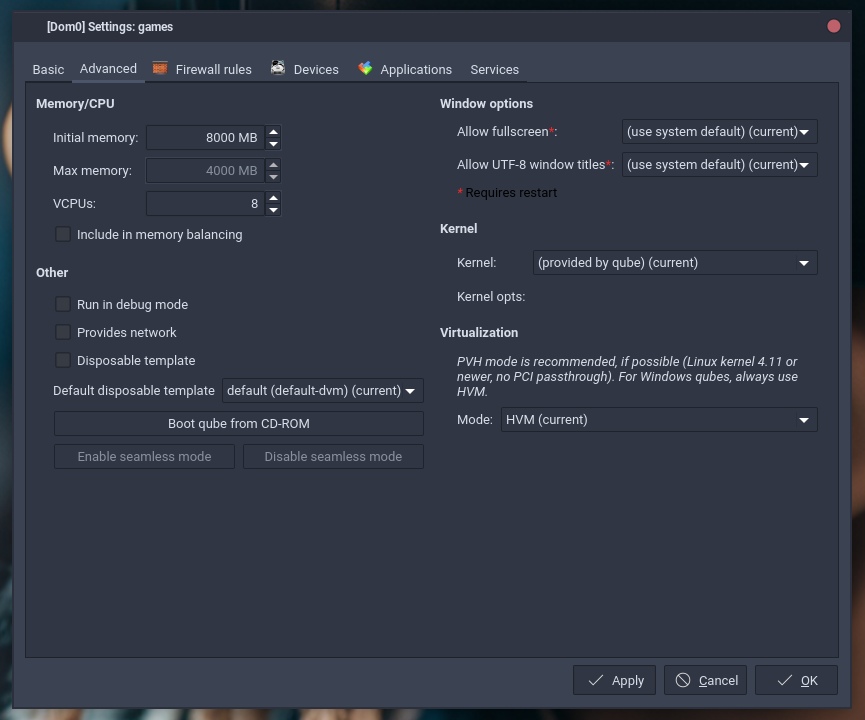
Step 4: In the advanced tab, deselect Include memory balancing, set kernel to provided by qube, and mode to HVM. Increase the memory and number of VCPUs, proceed to Devices tab.
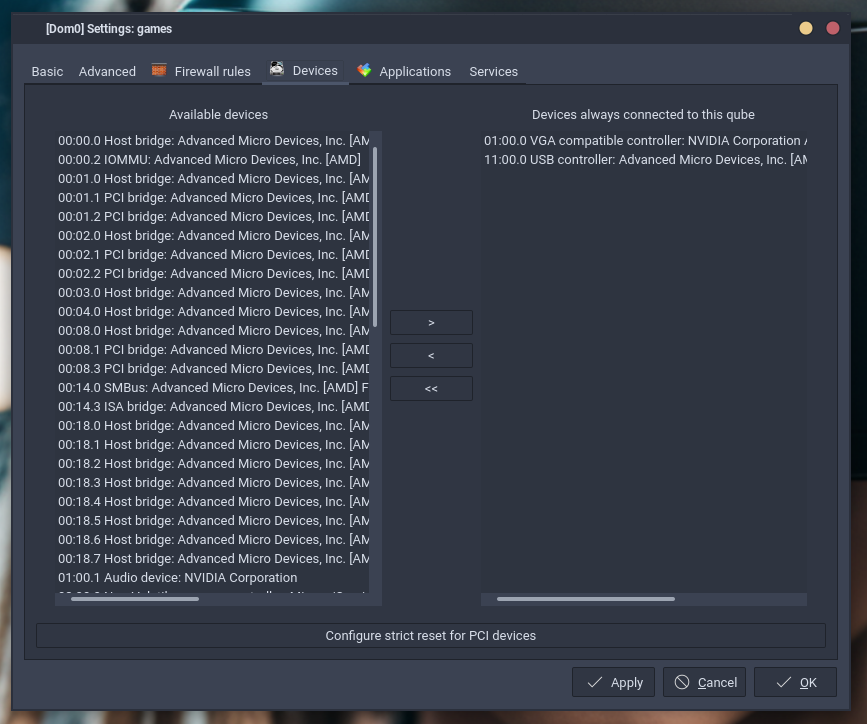
Step 5: In the Devices tab, add the GPU and USB controller to the qube, return to Advanced tab.
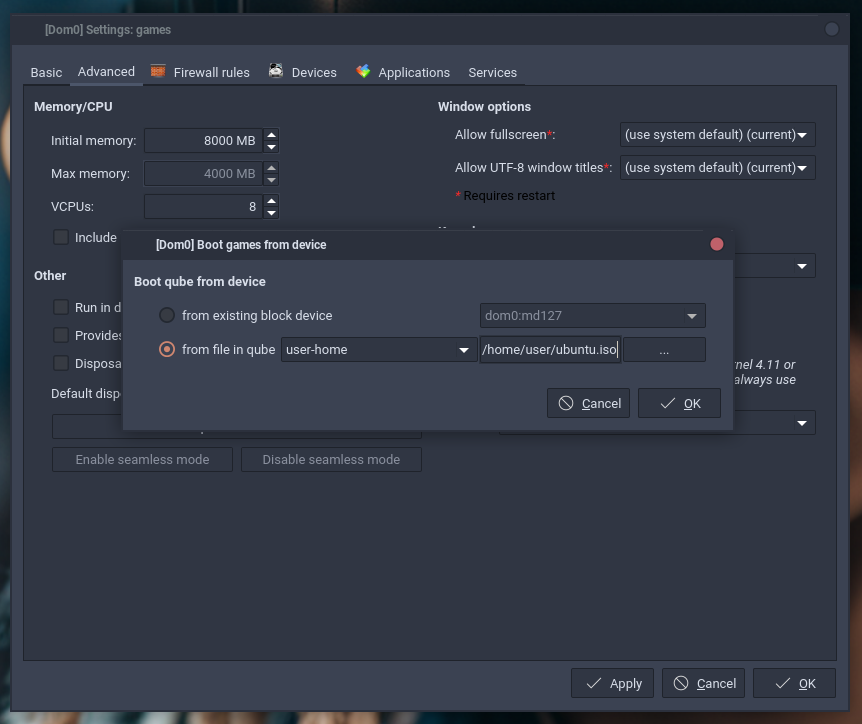
Step 6: In the advacned tab, click the button Boot qube from CD-ROM, select the ubuntu.iso, click Ok.
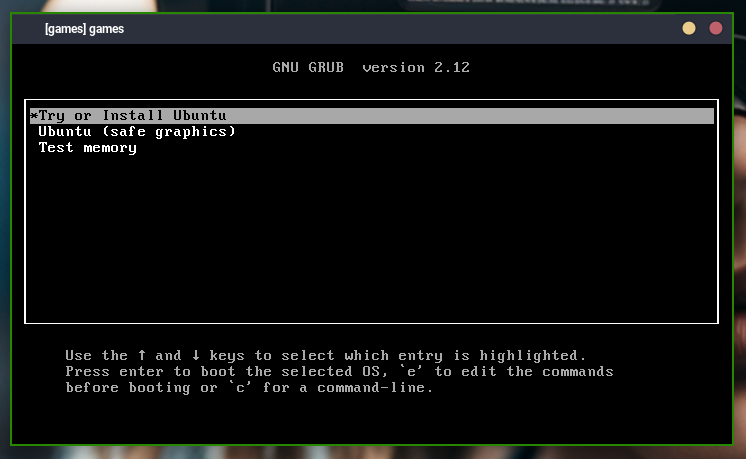
Step 7: At this point the Ubuntu install should start.
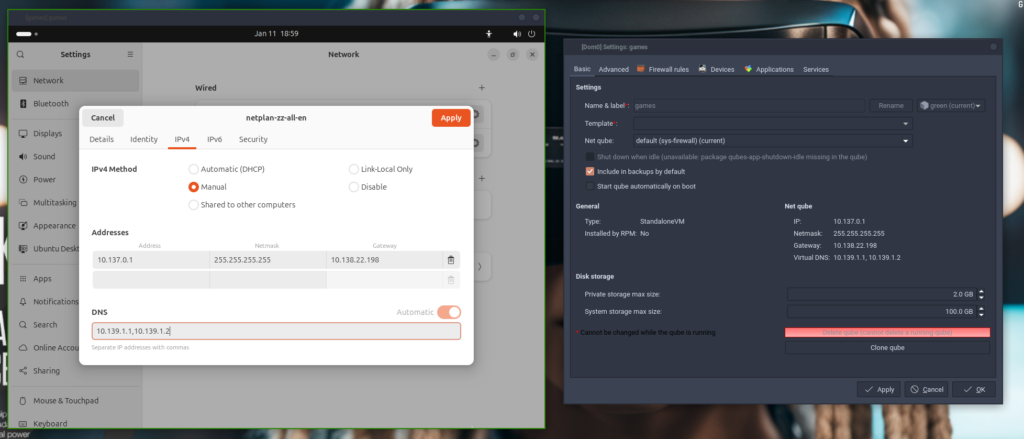
Step 8: During the installation, go to the network settings, set the IPv4 method to manual, enter the network settings from the qube settings.
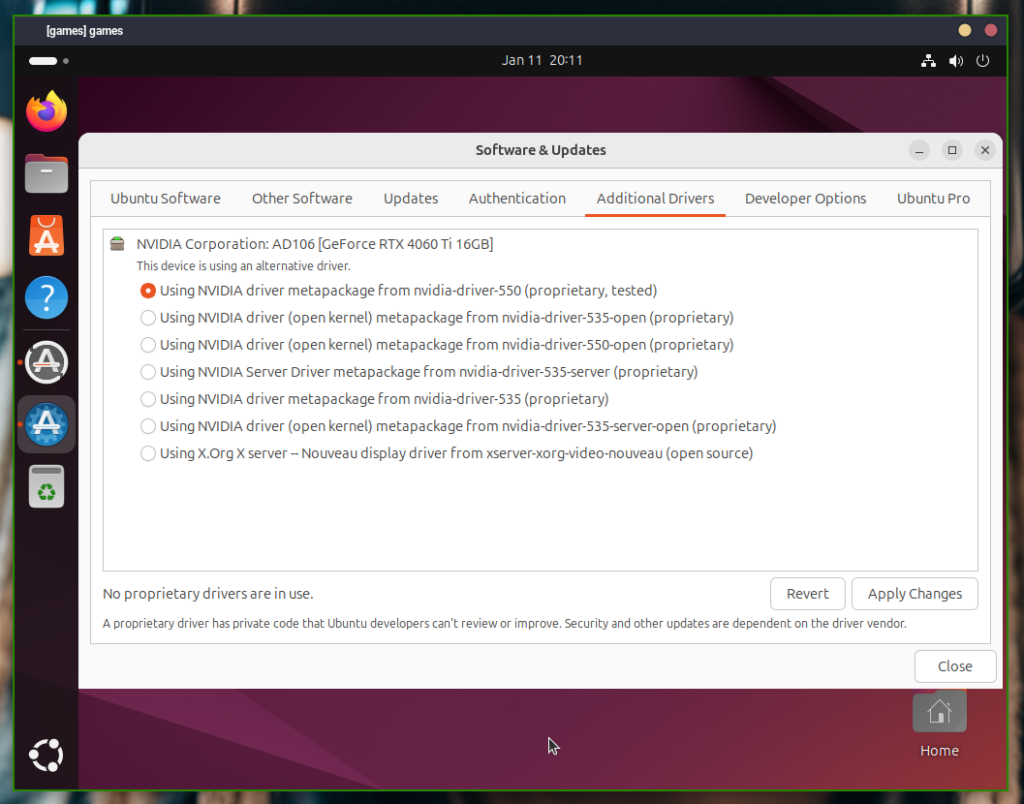
Step 9: After the installation is complete, open the software update tool, in the additional drivers tab select the Nvidia driver.
Step 10: Reboot the qube, you might need kill the qube from Qubes Manager.
Step 11: After Ubuntu has rebooted, open the terminal and run the following commands:
sudo X :1 -configure
sudo cp /root/xorg.conf.new /etc/X11/xorg.conf
sudo vim /etc/X11/xorg.conf
In xorg.conf delete the device, screen, and monitor that isn’t the GPU, and change the GPU driver from noveau to nvidia.
Save xorg.conf, and shutdown the system.
Step 12: Before you start the qube, enable audio by running the following command in dom0:
qvm-features your-gpu-qube-name audio-model ich6
Step 13: When you start the qube the output will come from the GPU, make sure the dedicated display is connected. Connect mouse and keyboard the to USB controller passed to the qube, and it’s ready for use.